
Turtles are wonderful reptiles and are easy to pet. But if you want to keep your pet turtle happy and healthy, the right habitat setup and regular cleaning are the most important things. For this, you have to know how to make it easier to clean your turtles tank. If you know the right process for cleaning the turtle tank easily, it will not bother you like when you didn’t know the right way.
A clean tank does wonders not only for your turtle but also creates a more pleasant environment for you and the little guy. The actual cleaning process might be overwhelming at first, but with the correct tools and a continuous schedule, it is very manageable. Here, we will talk about the actionable steps to guide you on – how to make it easier to clean your turtles tank. So that your turtle is able to live in a crystal-clean habitat, with six simple tricks that will keep your turtle water clean.
Table of Contents
How To Prepare Before Turtle Tank Cleaning?
First, you have to prepare all the cleaning tools you will need for tank cleaning.
Gathering Supplies
If you have all your tools ready, the cleaning process will be organized and faster. What basic tools will you need for turtle tank cleaning? Here’s a list:
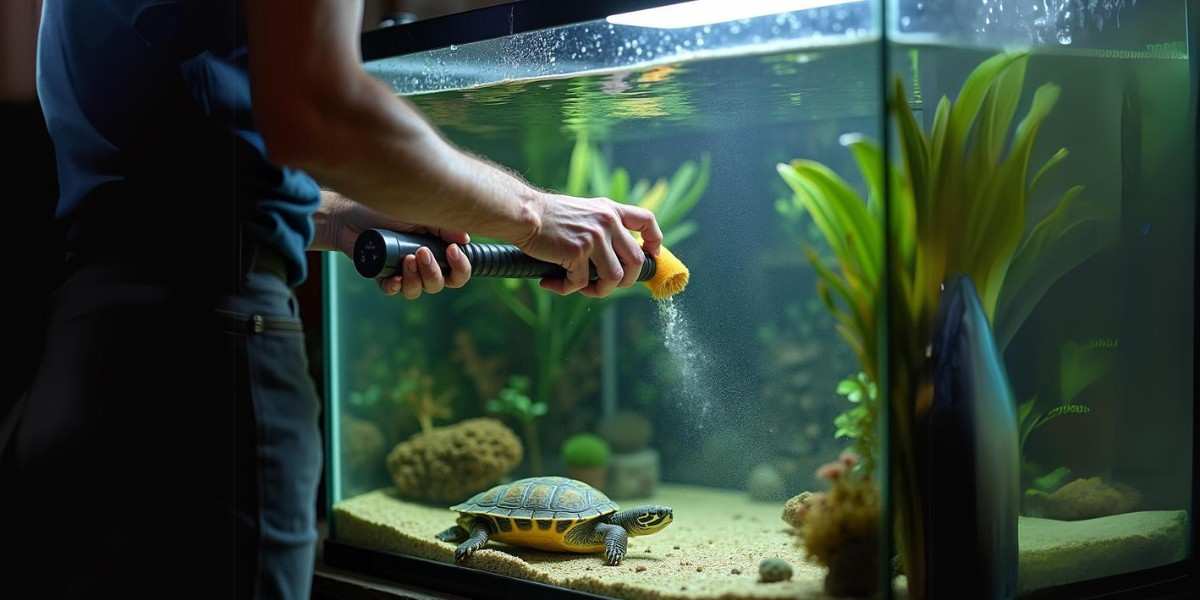
- A scrubbing brush,
- De-chlorinator
- Diluted bleach/Vinegar and
- Water conditioners are must-haves.
These tools contribute to ensuring your turtle has safe water conditions. Give it a good cleaning with diluted bleach or vinegar for extra sanitizing. In addition, you can purchase algae pads or cleaning gloves for spots that are difficult to reach.
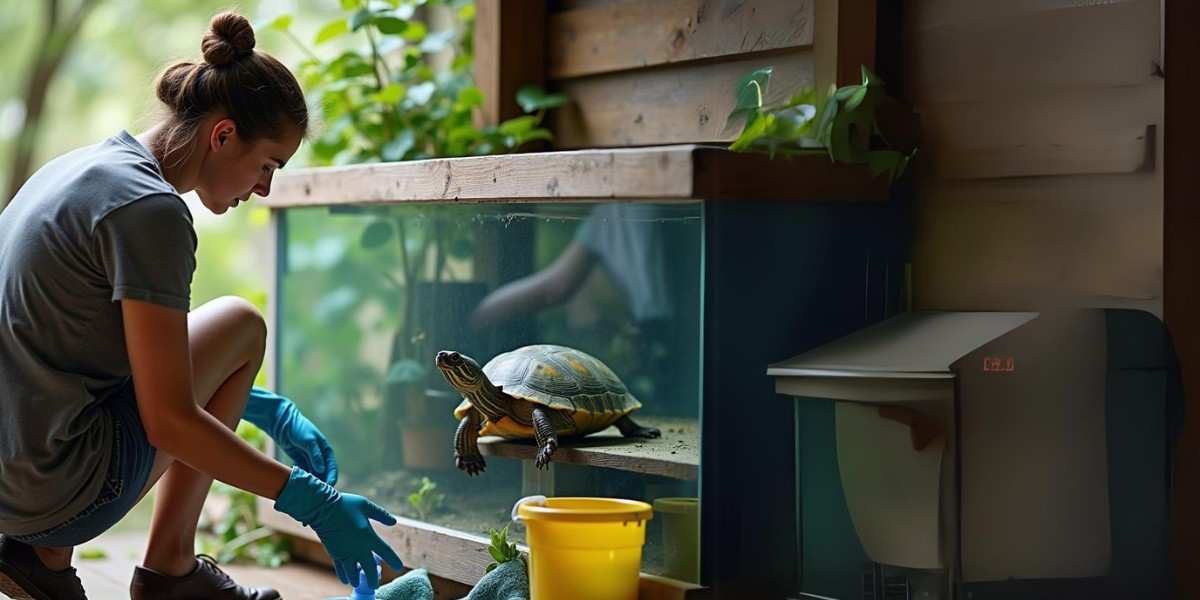
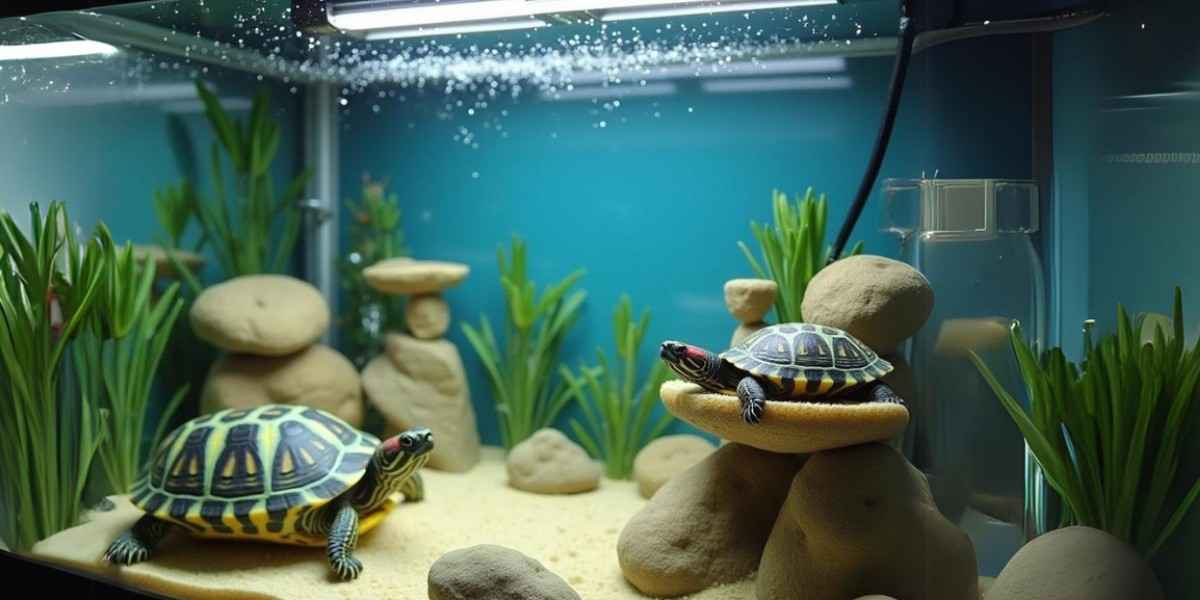
Temporary Housing for Turtle
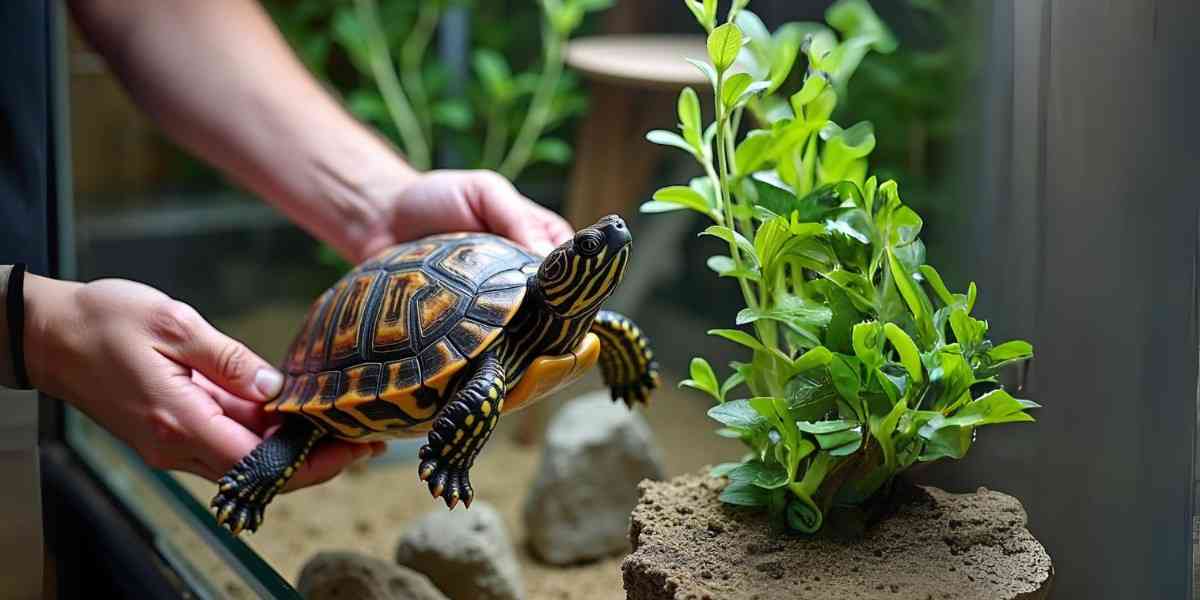
You should never clean the tank and keep your turtle in it at the same time. Provide a heavy dish with some water in it, and make sure to create a basking platform for your turtle. Making this temporary setup simulates how it feels to be in a turtle-like environment, and it can help keep stress levels down. Screw the lid to fit snugly on top, and put a container in a warm place out of drafts.
Removing Electrical Equipment
Safety should be the first priority. Always turn off and remove heaters, filters and lights before cleaning. Because the first second of that stray water hitting them will be an electrical hazard. Cleaning the items separately ensures they are as clean as possible and that they work properly when re-installed. Additionally, make sure to be gentle with each piece and inspect them for damage before proceeding.
Step-by-Step Cleaning Process To Clean Your Turtle Tank Easily
Now, it is time to look at the step-by-step cleaning process
Step 1: Remove Decorations and Substrate
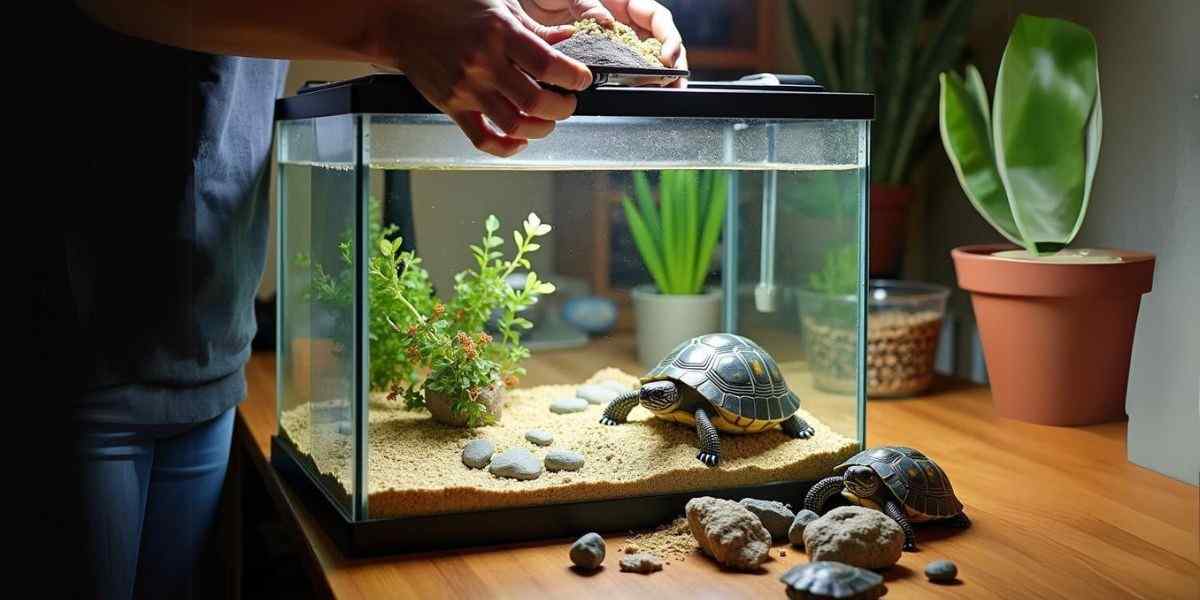
You should start by carefully removing all decorations — rocks, platforms, etc. Scrubbing each piece with a soft brush and warm water with vinegar or reptile-safe cleaner, as needed. This helps get rid of algae and dirt. If your decorations can fit, let them soak in the solution for 15 minutes.
Step 2: Drain and Clean the Tank
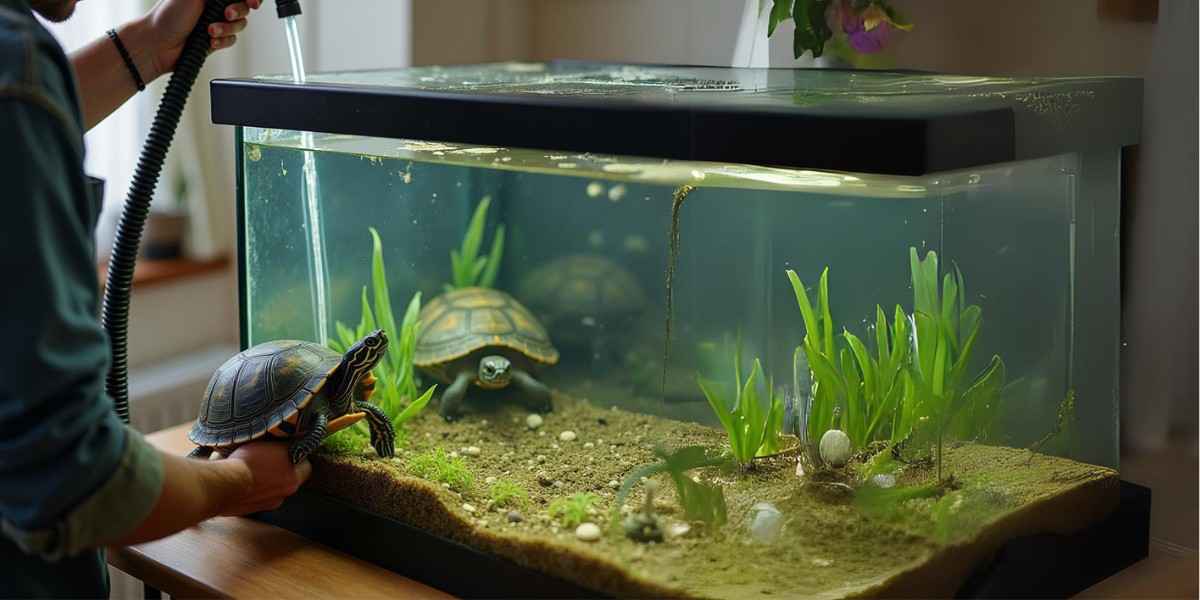
After removing the decorations, gently drain the tank of water. Some water can be removed with a siphon or small water pump. Empty it, then use a non-abrasive sponge and a cleaning solution to wipe the inside of your tank. Check (corners and nooks filled with) rubble. Avoid using strong chemicals, as they can leave a harmful residue for your turtle.
Step 3: Clean and Rinse Substrate
If your tank has gravel or sand, put it in a strainer and wash well under the tap of the sieve until the water flows clear. This ensures that waste and stuck-on debris is removed. Carefully rinse sand by swishing it around in the water (in a bucket), and again replace the water several times. Complete cleanout of all particles is very important so that the water does not contaminate whenever it is refilled.
Step 4: Rinse and Dry the Tank
Now wash it with some clean water to get rid of any remaining cleaning solution. You need to keep residue-free as it is palatable. After rinsing it, you will need to allow the tank to air dry completely so that mold and bacteria do not grow in your turtle tank. If needed, set a fan nearby to dry faster. After drying, you can reassemble your tank and add some tap water. Lastly, you can take your turtle home.
These are simple steps, but they will ensure a happy and healthy environment for your turtle.
Maintenance Tips for Easier Cleaning
Now, if you follow some tips, your regular cleaning process will be easier.
Regular Spot Cleaning
Ensuring that you always maintain a clean tank is essential. I recommend conducting regular spot cleaning in your tank to prevent waste build-up and keep your turtle’s home fresh. Before you begin thorough cleanup, it is a good practice to remove uneaten food and visible waste every day. The task will not only make the environment free from odor but will also limit the growth of harmful bacteria in those areas. It will keep your tank safe for the next thorough clean-up and reduce your workload.
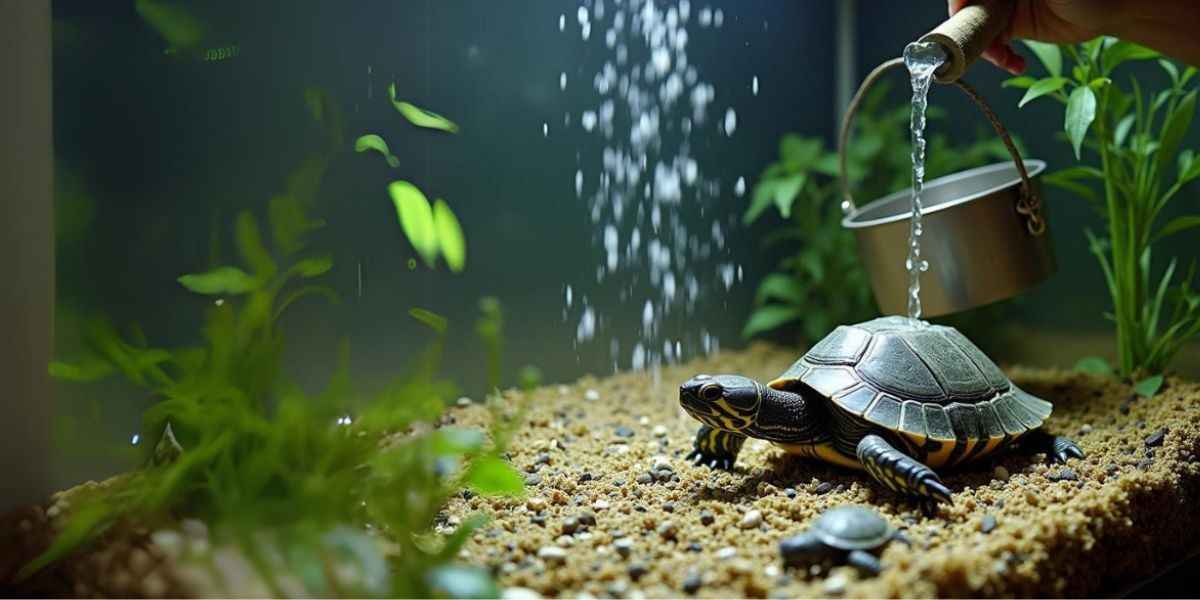
Partial Water Changes
Maintaining stable water quality is essential for a healthy environment. Try to change approximately 25% of the water every two weeks. With time, chemicals, such as ammonia and nitrite, will contaminate the liquid wastes. Use a siphon to vacuum old water out and replace it with fresh liquid, which is free of chlorine.
Use of Efficient Filtration Systems
To keep your turtle tank clean, your best helper is a powerful filter. You may have either a canister filter or an internal filter, as both are the most efficient in terms of dealing with waste for your pet friend. Regardless of what type it is, it should handle at least twice the water volume of your tank. Keeping the filter clean and changing the media after some time will ensure no debris deposits.
Adding Plants and UV Sterilizers
It’s clear that using live plants and UV sterilizers can drastically improve the health of your tank. Plants are far more than just aesthetically pleasing, sucking up the excess nutrients that would otherwise enhance algae growth. Some of the most suitable plants for turtle tanks are Java fern, ‘Anubias,’ Amazon sword, or ‘Java Moss.’ On the other hand, UV sterilizers work to control algae, bacteria, and parasites, keeping the tank and its water healthy. These additions make maintenance easier and promote maintenance-free ecosystems.
What Are The Common Challenges and Solutions During Cleaning?
Yes, there are some challenges while cleaning the turtle tank, but if you point them out beforehand, your tank cleaning process will be a lot easier.
Algae Growth
Algae can get out of hand in your turtle tank very quickly. The algae usually proliferate because of excess light or nutrients. One of the best ways to prevent algae is to reduce the hours that lights are on in your tank. Industrial light can be on for up to 18 hours a day, which will lead to an increase in algae. Set up a timer to do this automatically. Use algae scrapers or pads to take out algae from the tank. Also, think about incorporating live plants that will compete with algae to take in nutrients and prevent them from growing too much.
Cloudy or Smelly Water
Poor water quality, for example – cloudy water. You will have to monitor the pH, ammonia and nitrite levels. In pet stores, you can buy test kits that you can use on a weekly basis. A bad smell may also be evidence of a waste residue. Be sure to use an effective filtering system and do partial water changes twice a month, such as changing 25% of the water.
Equipment Maintenance
You should service the equipment for your tank to create an environment that is suitable for their habitat. Check your tank filters weekly for any blockage, and unblock them monthly to ensure no build-up of acremonium, mold, or other contaminants. For most, this is between every 4–6 weeks, based on the manufacturer.
Some heaters must be cobweb-free, mineral deposit stuck is another cost, and constant maintenance is needed at a certain temperature. Check all equipment regularly for wear and tear to make sure it is working correctly and giving your turtle a good home.
If you can solve these common issues with easy solutions, you’ll go a long way to keeping your tank water clean and fresh and improving the welfare of your turtle. Following these tips will give you the correct way to answer the question, “How to make it easier to clean your turtles tank?”
FAQs: How to Make It Easier to Clean Your Turtle’s Tank
How do I set up a turtle tank properly?
In order to set up a turtle tank, you have to choose the right size tank, typically 10 gallons per inch of turtle shell. You’ll need a good filtration system, UV lighting, and a heater to keep the temperature right. For optimal health, make sure the setup looks like a turtle’s natural habitat.
What is included in a turtle tank kit?
Most turtle tank kits include a tank, a water filter, a basking platform, UV and heat lamps, as well as a thermometer and water conditioner. From the very beginning, these essentials help create a suitable environment for your turtle.
How often should I clean a turtle aquarium?
It is recommended to perform partial water changes weekly and to complete a full aquarium cleaning every 3-4 weeks. Cleaning the tank regularly, including removing uneaten food and waste daily, can keep it cleaner for longer periods of time.
What steps should I follow to clean a turtle tank?
Start by transferring the turtle to a safe temporary habitat. Drain the tank, scrub it with a safe cleaning solution, rinse thoroughly, and refill it with dechlorinated water after removing all decorations and substrates. Before returning the turtle, reinstall all items and make sure the water parameters are safe.
How can I keep a turtle tank clean with minimal effort?
You can reduce deep cleaning frequency by cleaning spots regularly and using an efficient filtration system. Make sure you have live plants and a UV sterilizer in your water to keep it clean.
Why is my turtle tank water cloudy, and how can I fix it?
There are several reasons why water becomes cloudy, including excess waste, overfeeding, and inadequate filtration. You should not overfeed your turtle, change the water regularly, and ensure the filtration system is adequate for the size of the tank.
What are some tips for setting up a turtle tank effectively?
If you’re setting up a turtle tank, make sure it has a secure lid, good lighting, and a good filtration system. Put up decorations for hiding spots and basking spots, and use a water conditioner to make tap water safe.
Wrap-Up on How to Make It Easier To Clean Your Turtles Tank
So, keeping your turtle clean does not have to be hazardous if you plan correctly. Using these simple suggestions, you can help make your turtle’s tank easier to clean, and it will also provide a healthier living area for your shelled friend. Begin with getting the appropriate supplies and putting your reptile pet in a temporary home. Go through the process of cleaning step by step as you clean up decorations, substrate and the tank itself.
Maintain or reduce plastic cage sources through simple remedies. Repeat this with easy fixes for some common hurdles, such as algae and water quality. Maintenance of equipment is not only limited to keeping your turtle’s home in the best shape that it can be. This will ensure your turtle remains as healthy as they can in a clean, safe environment. Check out these solutions and see your turtle enjoy a shiny new apartment!